Repairing existing render
Render Repairs in Holmes Chapel | Damage & Patch Matching
A repair has two jobs: deal with the defective area and leave a sensible finish beside the material that remains. The first is easily overlooked when attention goes straight to colour matching. A crack, a hollow patch and a stain are different observations; none is a complete diagnosis. The repair proposal should explain which problem it addresses and how the surrounding surface will be treated.

On this page
Begin with the pattern, not the filler
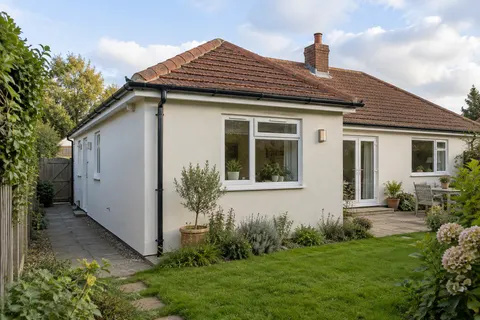
Look at where the damage sits in relation to openings, roof connections, pipes and changes in construction. Note whether it is isolated or repeated elsewhere on the building. A photograph of the whole elevation is often more informative than a close-up with no location. Include earlier photographs if they show that the area has changed.
This information helps the survey; it does not turn a homeowner into a structural investigator. Cracking or movement that needs further assessment should be referred appropriately before a cosmetic repair is selected. Filling a visible line may improve its appearance while leaving its cause unresolved.
Previous repairs deserve attention too. If the same spot has been repaired several times, the history matters. Try to establish what was used and how long each intervention remained satisfactory. A new proposal should account for that experience rather than repeat the same surface treatment without explanation.
- Map the damage Tapping finds hollow areas; cracks and their likely cause are noted.
- Cut back Failed render is cut out to a sound edge, usually squared off.
- Fix the cause Leaking gutters, sills without drips or render below the DPC are dealt with.
- Rebuild in coats Using a material compatible with the surrounding render and masonry.
- Blend the finish Texture is matched; colour may need a coating over the wider area.
The usual order of work. The survey and the chosen products decide the actual steps.
Set an extent that can actually be repaired
The visible defect and the necessary repair area may not be identical. Loose material can extend beyond a small obvious break, while a stain may sit on an otherwise sound surface. The scope should be based on the assessment and show where the repair will end.
Agree how the edge will meet retained render. A narrow patch squeezed around an opening may be more difficult to finish convincingly than a larger, sensibly bounded area. That does not mean larger is always better; it means the proposed extent needs a reason beyond covering the smallest visible mark.
If opening up reveals a different condition, the revised scope should be explained before extra work proceeds. Include photographs and a clear description of the additional area. This is especially important when the original quotation assumed only a local repair and the findings suggest more extensive wall rendering may be needed.
| Observation | What needs establishing before a finish is chosen |
|---|---|
| A repeated crack | Whether movement or another underlying issue needs assessment |
| A loose or hollow area | Its extent and the condition of the background |
| A discoloured surface | The source of the mark and suitability for cleaning or coating |
| A visibly mismatched old patch | Whether the issue is condition, texture, colour or several of these |
Match the construction before the colour
A repair material must suit the background and the surrounding system. The strongest available patching product is not automatically the best choice. Older masonry may need a different approach from a modern base coat, and a coating already on the wall can complicate the final finish.
The lime guide is relevant where traditional construction or existing lime work is involved. For a proprietary modern system, retain any original product information and seek a repair approach consistent with that system. If the original specification is unknown, state that uncertainty rather than selecting a product solely because its colour looks close.
Edges around sills, downpipes and roof connections may also need attention. A repair that stops short of the detail responsible for repeated wetting may leave the same problem in place. Any associated work should be assigned clearly, including specialist tasks outside the rendering scope.
Decide what a satisfactory patch will look like
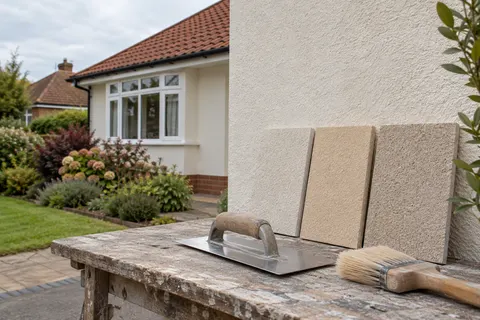
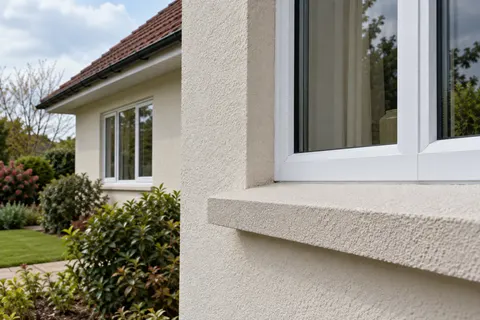
Colour is only one part of the match. Grain, surface flatness, tool marks and the age of the surrounding finish can all make a patch visible. A repaired area may dry or weather differently, so immediate appearance is not always the right basis for a final judgement. Agree the appropriate review point for the selected material.
Where appearance matters particularly, a trial can establish a realistic expectation. View it from the normal approach and in ordinary daylight, rather than judging only a magnified photograph. An invisible repair should not be promised without a sound basis. A tidy, compatible patch with an acknowledged visual difference can be a better outcome than an unsuitable treatment chosen solely to disguise the line.
If a wider compatible coating is proposed to bring the colour together, price that as a separate stage and explain its limits. The respray page covers colour changes on an accepted background. Coating the elevation may reduce a colour contrast, but it does not automatically erase a different texture or an uneven repair profile.


Use access while it is available
Small repairs can be awkwardly placed above a conservatory, beside a roof verge or near a high gable. The access arrangement needs to serve the whole task, including inspection, preparation and finishing. It should not be selected merely because the damaged patch itself is small.
If several defects are being considered, identify them before access is arranged. That allows the scope to be reviewed together without implying that every minor mark needs treatment. Separate urgent defects, agreed repair work and items being monitored, so the contractor and owner are working to the same list.
When the repair is complete, keep photographs, product information and the agreed limitations on appearance. These make later comparison more useful if the area changes. Our first-winter maintenance article provides a simple inspection record for accessible features, and the Holmes Chapel homepage links to the broader service choices if a repair develops into a larger project.
Common questions
Can a crack be diagnosed from a photograph?
A photograph can show the pattern and help arrange an inspection, but it cannot establish every cause or the condition behind the surface. Some cracking needs specialist assessment before a render repair is specified.
Will repainting hide the patch completely?
It may bring colours closer together if the coating is suitable, but differences in texture and profile can remain visible. Agree what the coating stage is expected to achieve.
Should the whole wall be replaced because one area sounds hollow?
The extent and significance need assessment. A local observation is not, by itself, a reason to replace an entire elevation or proof that the remaining surface is sound.
What should I keep after the repair?
Keep the location photographs, material details, agreed scope and any advice on monitoring or maintenance. That gives future work a factual starting point rather than a memory of what was done.
See housing and planning information for Holmes Chapel and nearby places, including the source and geography behind each figure.